
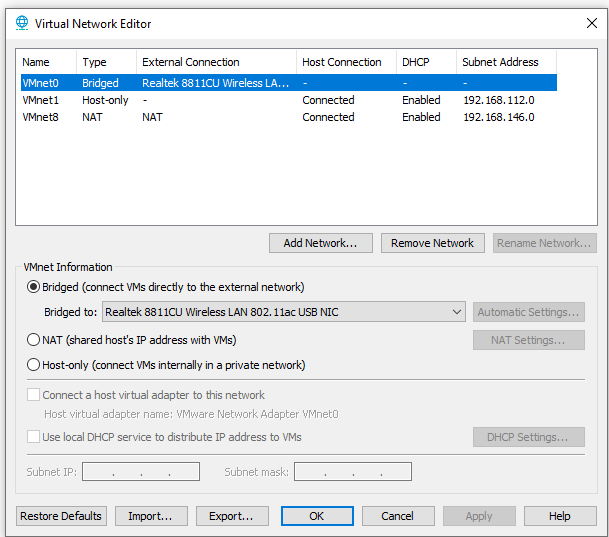
1. Bật chế độ add custom network trên máy win kết nối với VMWare
Mở VMware workstation vào mục Edit Veirtual Network Editor
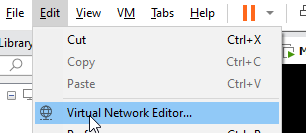
Nhấn vào Change settings
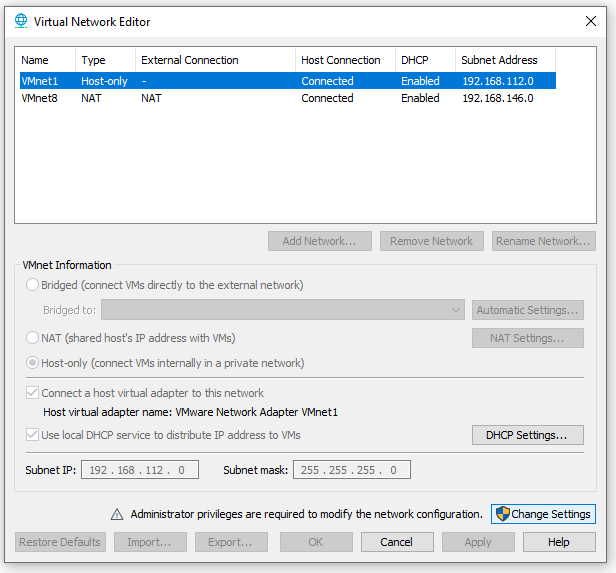
Cửa sổ mới hiện ra nhấn vào add network sau đó chọn đúng vmnetwork custom và card mạng máy windows rồi lưu cấu hình.
2. Thiết lập cho phép máy tính window có IP static cùng với IP DHCP
- Tìm tên của card mạng muốn đặt IP static :
netsh interface ipv4 show interface - Thiết lập tham số dhcpstaticipcoexistence:
netsh interface ipv4 set interface interface="interface name" dhcpstaticipcoexistence=enabled - Thêm địa chỉ IP cho card mạng
netsh interface ipv4 add address "interface name" 192.168.x.xxx 255.255.255.0 - Sử dụng lệnh ‘ipconfig /all’ đê kiểm tra
- Thử ping đến IP máy ảo có customnetwork